Table of Contents ▾
An ear gauge size chart helps you compare the three systems used to label stretched-ear jewelry: gauge numbers, millimeters, and fractions of an inch. The gauge scale runs backward, so a smaller number means a larger diameter. For example, 8g is larger than 10g, while 0g is larger than 2g.
The system changes after 00g. Larger plugs and tunnels are normally labeled in millimeters or fractions of an inch, which are easier to follow because their numbers increase with size.
Ear Sizes at a Glance
Common lobe jewelry begins around 20g or 18g. Stretching sizes then progress toward lower gauge numbers:
After 00g, sizes are usually listed like this:
Not every retailer stocks all of these measurements. In particular, 1g, 7 mm, and 9 mm are sometimes called half sizes because they sit between more widely sold gauge steps.
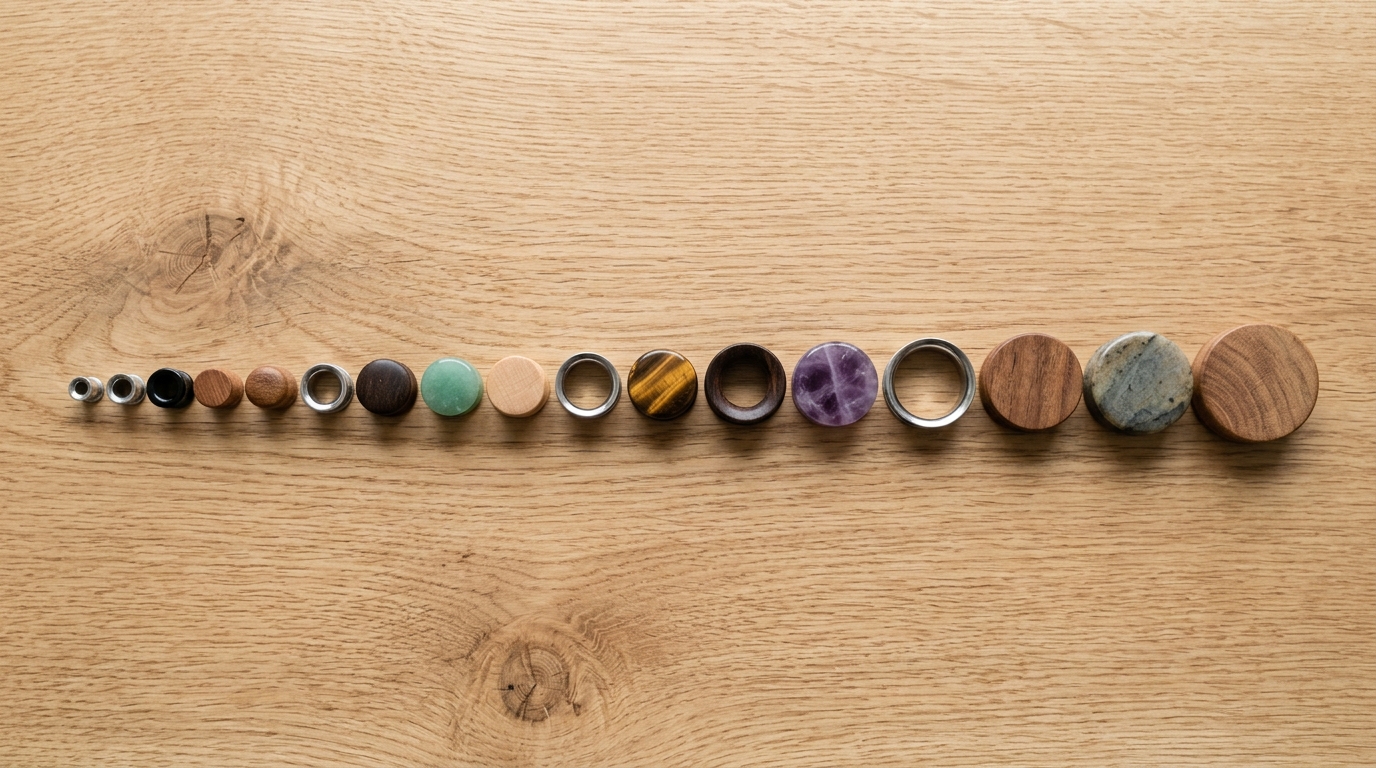
Complete Ear Gauge Size Chart
Small-size inch values are shown as decimals because common fractions would be less precise. For larger sizes, the table includes the fractional-inch labels typically used by jewelry sellers.
| Gauge or Inch Label | Common Metric Diameter | Decimal Inches |
|---|---|---|
| 20g | 0.8 mm | 0.031 in |
| 18g | 1.0 mm | 0.039 in |
| 16g | 1.2 mm | 0.047 in |
| 14g | 1.6 mm | 0.063 in |
| 12g | 2.0 mm | 0.079 in |
| 10g | 2.4 to 2.5 mm | 0.094 to 0.098 in |
| 8g | 3.0 to 3.2 mm | 0.118 to 0.126 in |
| 6g | 4.0 mm | 0.157 in |
| 4g | 5.0 mm | 0.197 in |
| 2g | 6.0 mm | 0.236 in |
| 1g (half size) | 7.0 mm | 0.276 in |
| 0g | 8.0 mm | 0.315 in |
| 00g | 9.0 to 10.0 mm | 0.354 to 0.394 in |
| 7/16 in | About 11 mm | 0.438 in |
| 1/2 in | About 12 to 13 mm | 0.5 in |
| 9/16 in | About 14 mm | 0.563 in |
| 5/8 in | About 16 mm | 0.625 in |
| 11/16 in | About 18 mm | 0.688 in |
| 3/4 in | About 19 mm | 0.75 in |
| 7/8 in | About 22 mm | 0.875 in |
| 1 in | 25 to 25.4 mm | 1 in |
How to Read the Backward Gauge Scale
The gauge system was not created specifically for stretched ears. It developed from methods of classifying wire thickness, and body jewelry adopted the same reverse numbering pattern.
This is why moving to a lower gauge number means increasing the diameter:
- 16g is approximately 1.2 mm.
- 14g is approximately 1.6 mm.
- 12g is approximately 2 mm.
- 10g is approximately 2.5 mm.
- 8g is approximately 3.2 mm.
The sequence continues to 0g and 00g. It does not work like a normal numbered scale, and descriptions such as “go up one gauge” can be misunderstood. It is clearer to state the exact starting and target measurements, such as “6 mm to 7 mm.”
Once jewelry reaches sizes above 00g, metric and fractional-inch labels replace gauge numbers because continuing the gauge notation would become increasingly confusing.
Size Jumps Are Not Equal
Moving from one printed gauge number to the next does not always produce the same increase in diameter.
| Gauge Change | Approximate Increase |
|---|---|
| 18g to 16g | 0.2 mm |
| 16g to 14g | 0.4 mm |
| 14g to 12g | 0.4 mm |
| 12g to 10g | 0.4 to 0.5 mm |
| 10g to 8g | About 0.6 to 0.8 mm |
| 8g to 6g | About 0.8 to 1 mm |
| 6g to 4g | 1 mm |
| 4g to 2g | 1 mm |
| 2g to 0g | 2 mm (Major Jump!) |
A similar issue occurs around 00g. Depending on the manufacturer, 00g may mean 9 mm or 10 mm. A person wearing 8 mm jewelry should confirm the exact next measurement instead of buying something based only on the 00g label.
Why Millimeters Are Better for Planning
Millimeters show the actual diameter directly. There is no reverse scale to decode, and intermediate sizes are easier to recognize.
Suppose you are wearing 6 mm plugs. A listing for 0g may indicate 8 mm, while a 7 mm plug provides a smaller step. The metric labels make that difference immediately visible.
Millimeters also reduce problems caused by inconsistent conversions. Some retailers describe 8g as 3 mm, while others use 3.2 mm. Both may be sold under the same gauge label, but they are not identical in diameter.
When comparing jewelry:
- Check the exact metric diameter.
- Confirm the wearable area.
- Look at the flare measurements.
- Verify whether the product is sold individually or as a pair.
- Avoid assuming that gauge labels are identical across brands.
An ear gauge size chart is most reliable when gauge numbers are treated as reference labels and millimeters are used for the final comparison.
Finding Your Current Plug or Tunnel Size
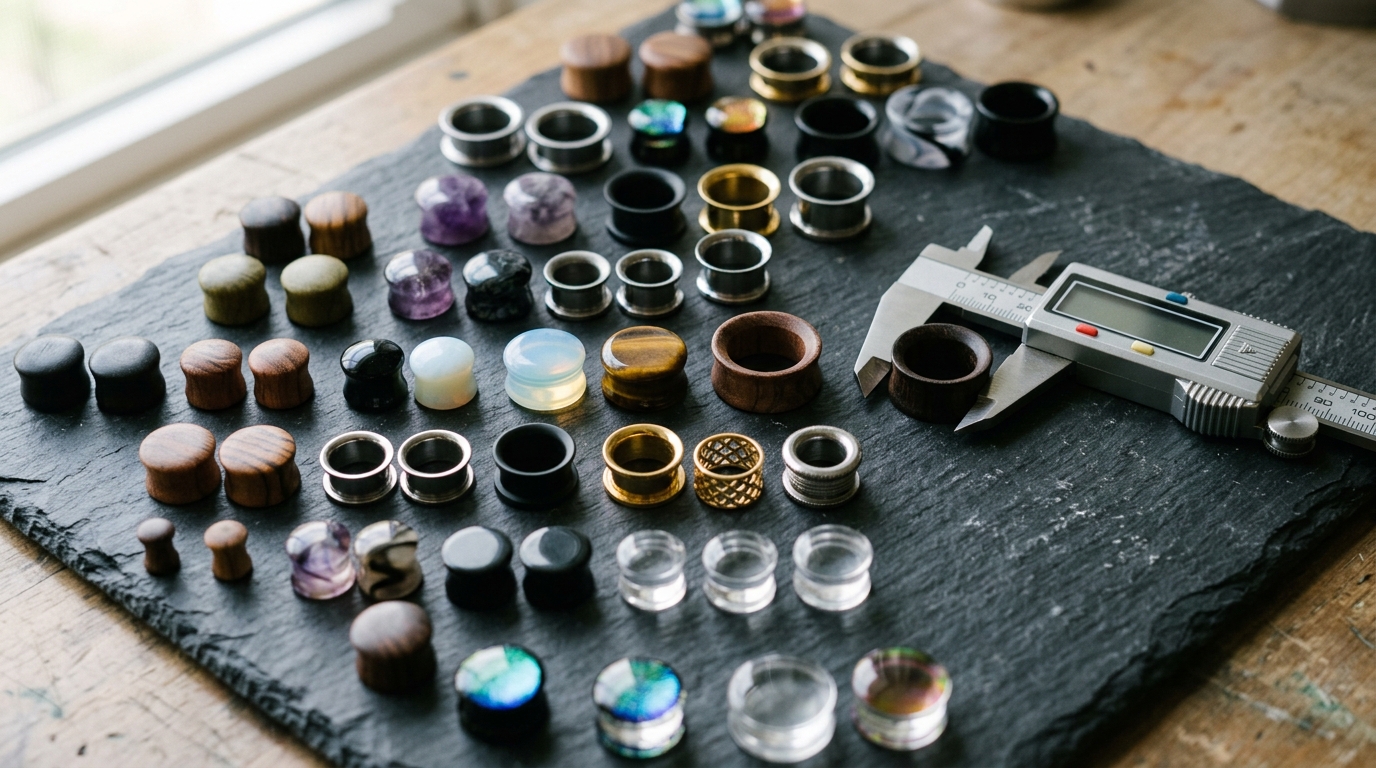
The safest way to identify an unknown size is to have a professional piercer measure the jewelry. Studios may use digital calipers, sizing cards, or gauge wheels designed for body jewelry.
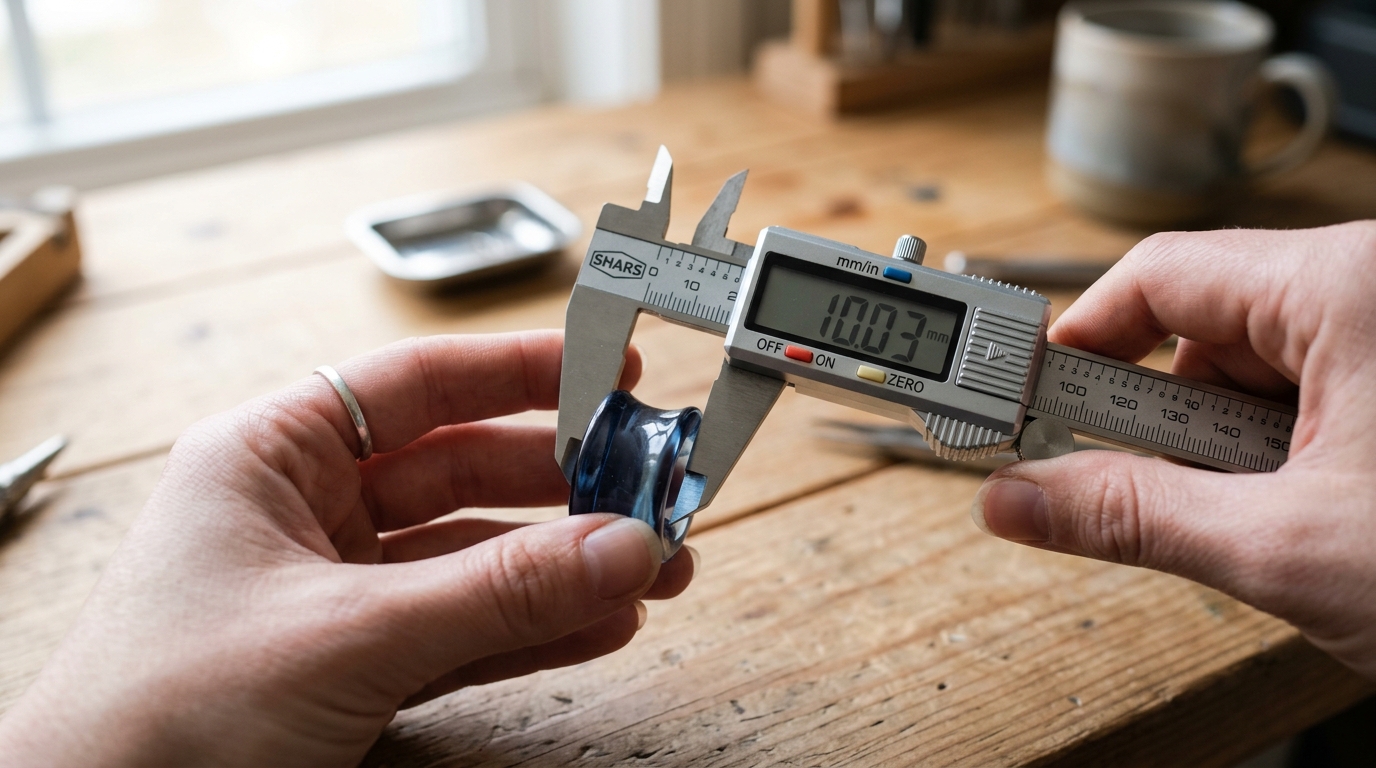
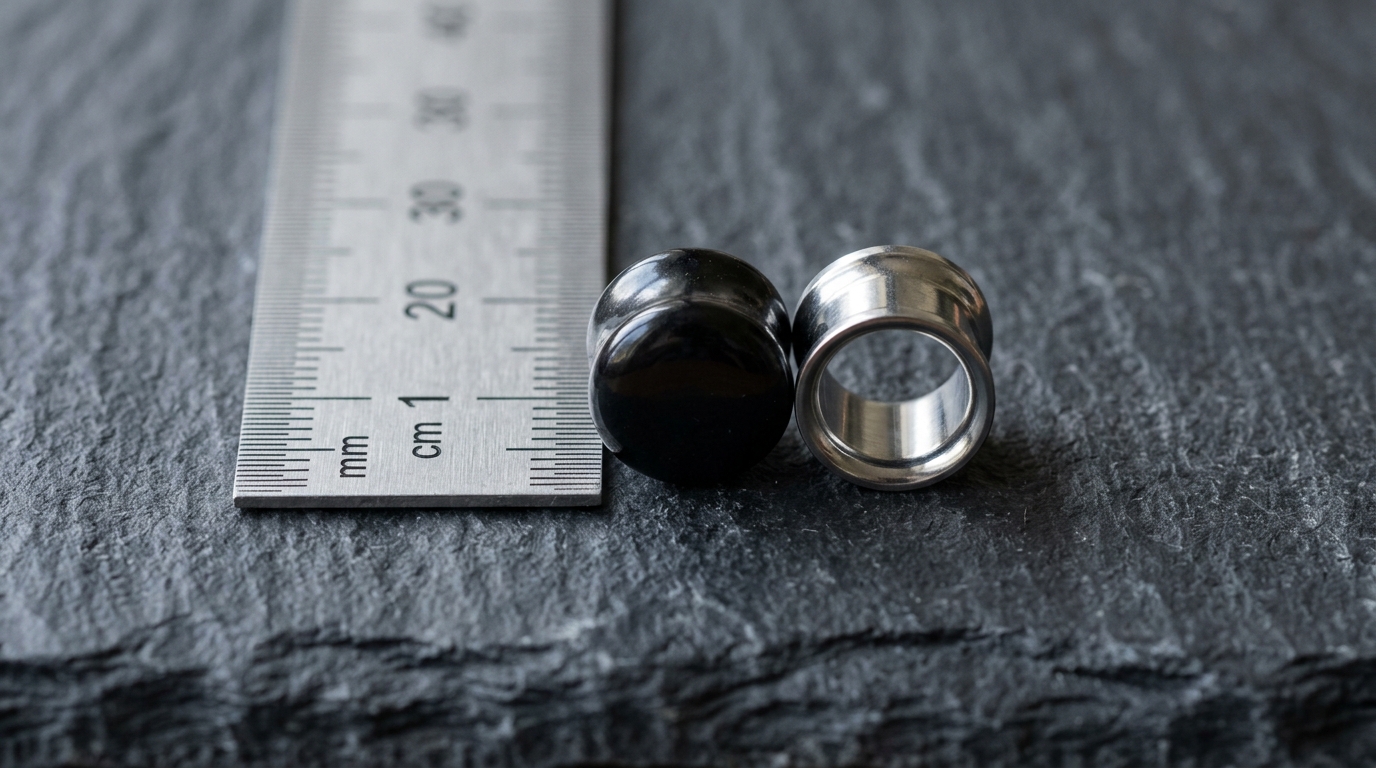
If you are measuring removable jewelry at home, use a clean digital caliper across the wearable shaft. Do not measure across the front face or flare because those sections are wider than the part that sits inside the piercing.
The thickness of the wearable shaft sitting directly in the earlobe channel.
The functional length between flares that rests comfortably inside the lobe tissue.
The widest lip portion at either end that keeps the jewelry in place.
For a tunnel, measure the solid outer wall from edge to edge across the center. Do not measure the empty opening inside the tunnel.
A ruler is usually too imprecise for smaller sizes. The difference between neighboring sizes may be less than one millimeter.
Plug Styles and Their Sizing Differences
Two plugs with the same stated diameter may fit differently because of their flare and wearable design.
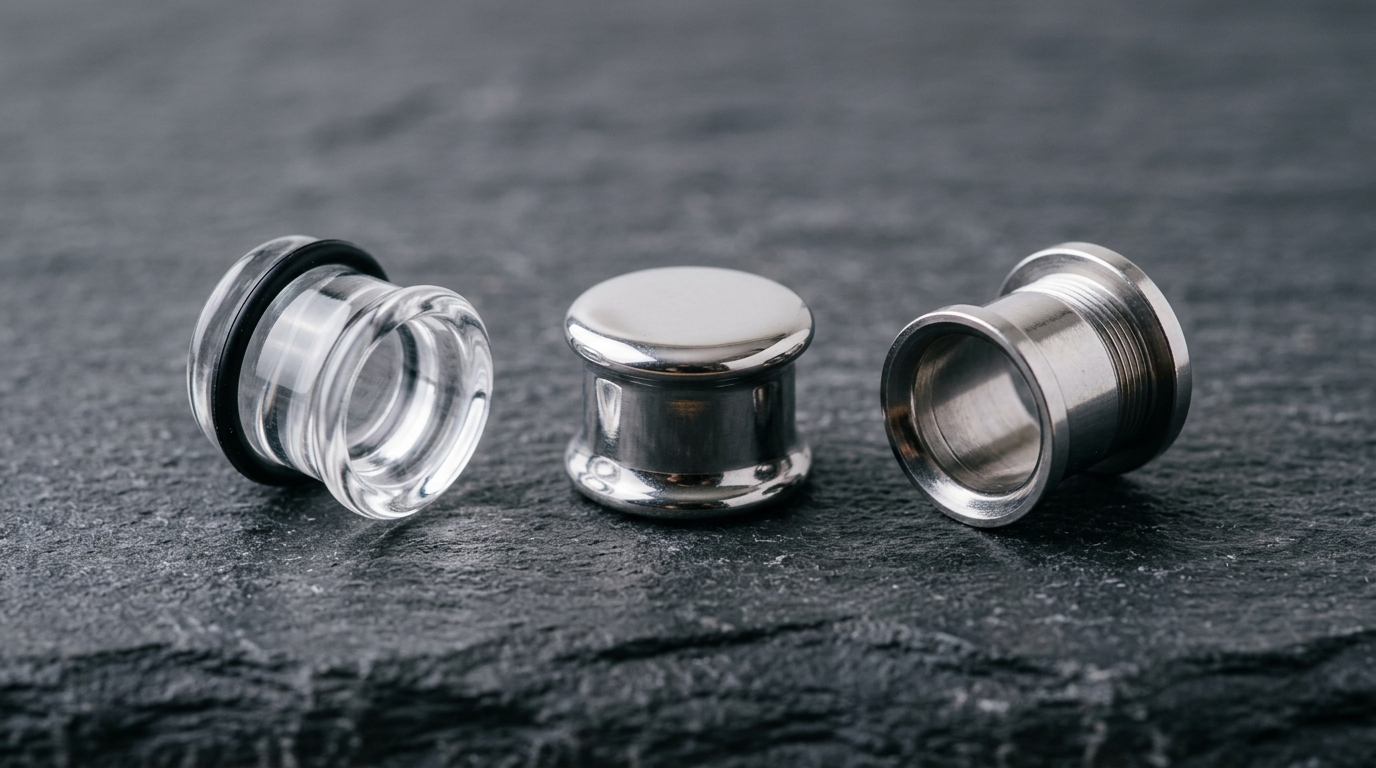
Single-Flare Plugs
A single-flare plug has one fixed wider end and usually uses an O-ring on the other side. The wearable shaft remains close to the stated size, making this style easier to insert without passing a large flare through the piercing.
Single-flare or non-flared jewelry is commonly preferred for a fresh stretch because the wearable section does not require the tissue to expand over a second flare.
Double-Flare Plugs
A double-flare plug has a wider edge on both sides and a narrower wearable section in the middle. The lobe must be flexible enough to pass over the flare, which may be noticeably larger than the labeled wearable diameter.
A 10 mm double-flare plug is intended for a 10 mm channel, but its flare may be 11 or 12 mm. It should not be forced into a newly stretched or tight lobe.
Screw-Fit Tunnels
Some tunnels separate into two threaded pieces. This allows insertion without pushing a large flare through the tissue. Check that the threads do not scrape the piercing and that the two sections close without gaps.
The listed size normally refers to the wearable diameter, not the outside face or decorative rim.
Moving to the Next Size
A chart shows numerical order, not whether your ears are ready. Tissue response matters more than reaching a target date.
Before considering another size, the lobe should be settled and comfortable. The existing jewelry should move without pain, persistent tightness, swelling, or discharge. Even then, the next piece should enter without force.
- Sharp pain
- Strong resistance
- Bleeding
- Sudden swelling
- Tearing
- Tissue pushed outward
- A hot or throbbing sensation
These are not signs of a successful stretch. They indicate that the tissue may be unready or injured.
There is no schedule that works for every person. Healing history, scar tissue, circulation, previous stretching methods, jewelry weight, and the size of the increase all affect readiness. A professional piercer can assess the lobe and recommend a smaller increment when necessary.
Materials for Newly Stretched Lobes
Jewelry used during a stretch should have a smooth, nonporous surface and an accurate diameter. Rough finishes, scratches, seams, and porous materials can irritate vulnerable tissue.
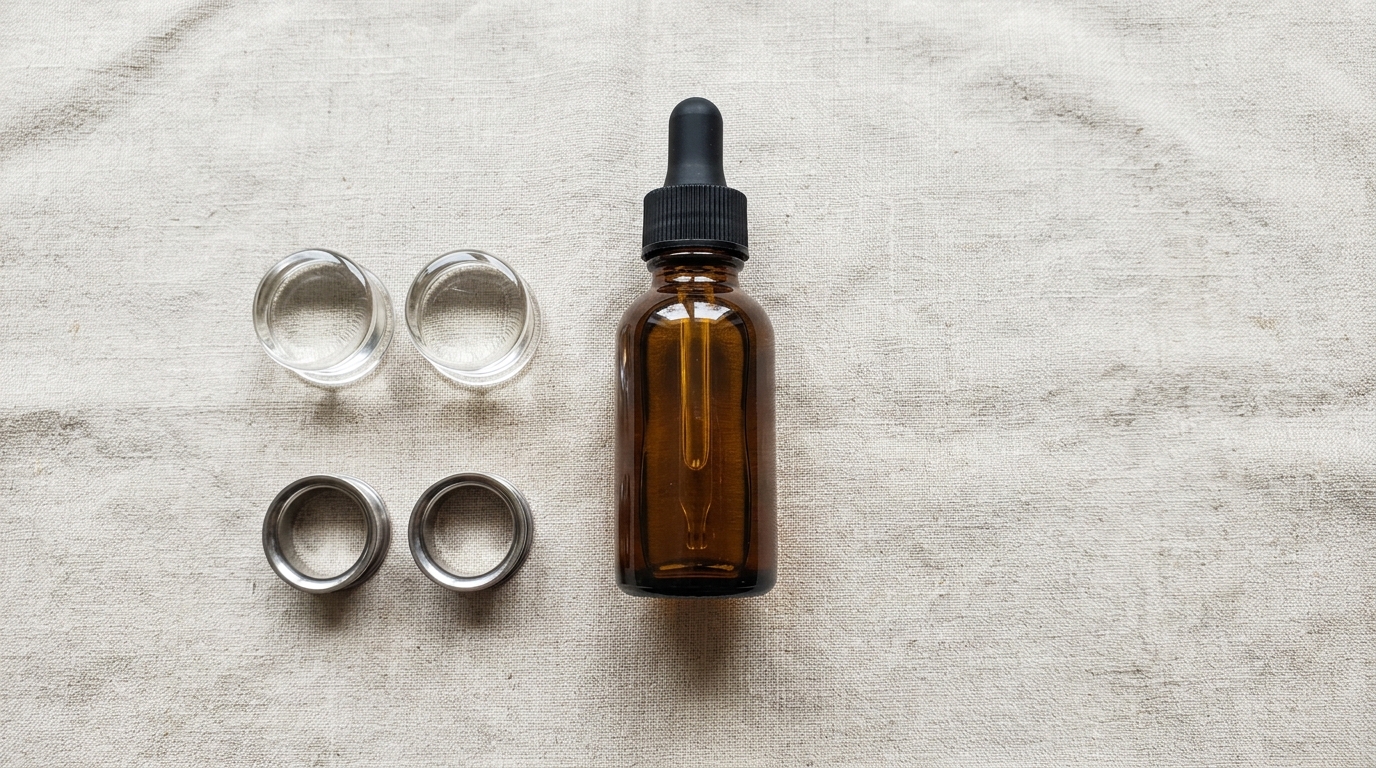
Single-flare glass and verified implant-quality metals are commonly selected because they can be manufactured with smooth wearable surfaces. Jewelry quality still varies, so material descriptions and finish should be evaluated carefully.
Wood, horn, bone, silicone, and some stone pieces may be suitable for established stretched lobes under appropriate conditions, but they are not automatically appropriate for a fresh stretch. Natural materials can vary in porosity, finish, and sensitivity to water.
Heavy hangers and ear weights are decorative jewelry, not stretching tools. Their weight is concentrated on the lower part of the lobe and can contribute to uneven thinning when worn for long periods.
Can Stretched Earlobes Shrink?
Stretched lobes may tighten when jewelry is removed, but the amount is unpredictable. Size, stretching history, scar tissue, elasticity, age, and how long the lobe remained at its largest diameter can all affect shrinkage.
There is no dependable “point of no return” that applies to everyone. One person’s lobes may reduce considerably after a certain size, while another person’s may remain visibly open at a smaller measurement.
If maintaining the piercing matters, avoid leaving jewelry out for extended periods without understanding how quickly your tissue contracts. If you want to reduce a stretched opening, a piercer can discuss downsizing and jewelry options. Surgical correction requires consultation with a qualified medical professional.
Frequently Asked Questions
What is the smallest ear gauge size? ▾
What size comes after 2g? ▾
What size comes after 00g? ▾
Are all 00g plugs the same size? ▾
Can I skip an ear gauge size? ▾
How do I know if my ears are ready for the next size? ▾
Is 0g larger than 00g? ▾
Use Millimeters as the Final Check
An ear gauge size chart makes the order easier to understand, but the gauge label should not be your only reference. Compare the exact millimeter diameter, account for flares and wearable area, and choose gradual increments. If jewelry meets resistance or the lobe shows signs of injury, stop rather than pushing toward the next number.
Technical Measurement & Sizing Specialists
Gauge to MM provides calibrated measurement conversion charts and calculation standards for electrical, manufacturing, and body jewelry dimensions.